Hello, FLATED friends, family, and fellow road trip lovers! Ken Hovey here with FLATED. Today, I'm going to guide you through the simple process of installing the air carrier on a vehicle with crossbars. Let's get started!
Step 1: Inflate the Air Carrier
Check the Valve: Before inflating, ensure the valve is closed. Turn the valve counterclockwise until the little yellow valve pops up, indicating it is closed.
Inflate the Carrier: Use the provided pump to inflate your air carrier. This should only take a few minutes.
Step 2: Prepare the Strap System
Undo Both Sides: Loosen the straps from their buckles and the Velcroed storage area. The straps should be hanging freely from your air carrier.
Step 3: Position the Air Carrier
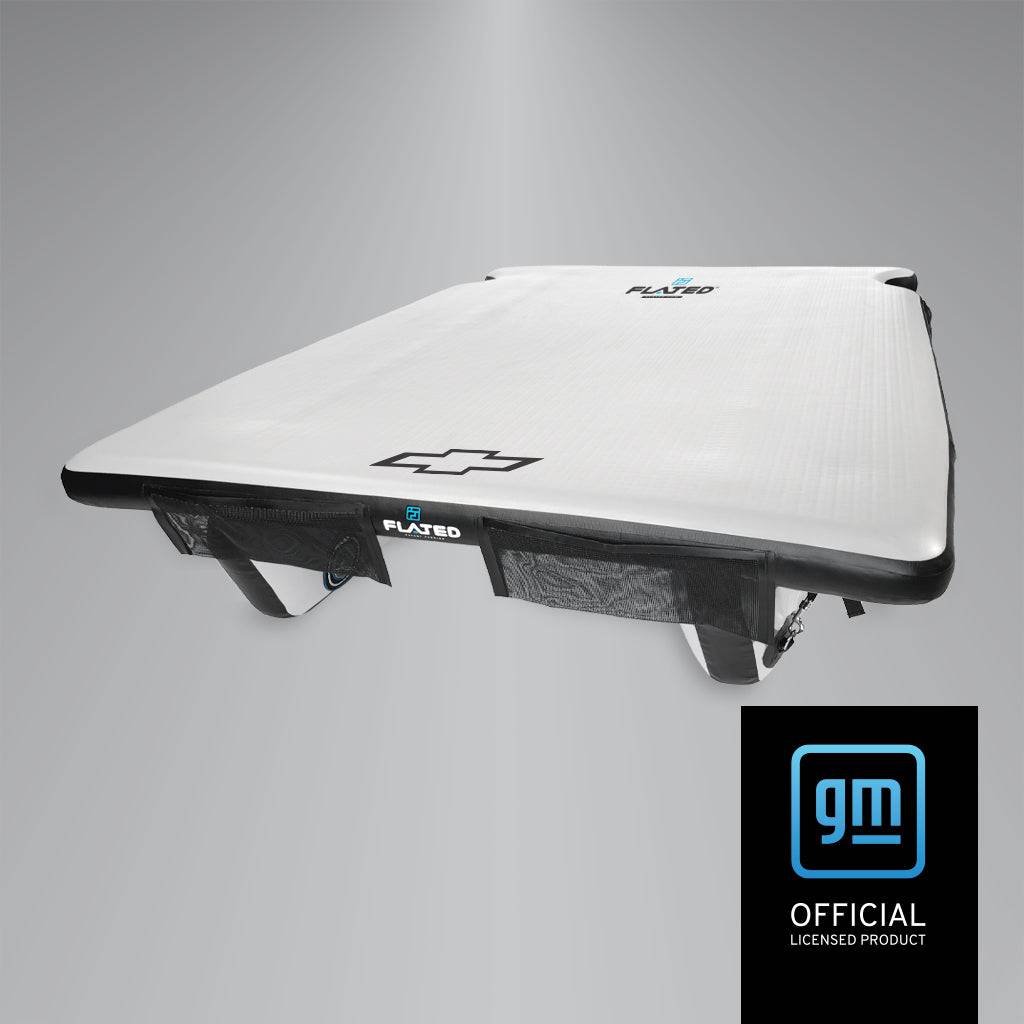
Set on Racks: Gently place the air carrier onto your vehicle's racks. The back of the air carrier, where the inflation valve is, should face the rear of the vehicle.
Step 4: Secure the Air Carrier
Front Strap:
Take the front strap with the cam buckle.
Wrap it around the crossbar, starting underneath.
Wrap it fully around, finishing with the strap and buckle facing the rear of the vehicle.
Rear Strap:
Repeat the same process with the rear strap on the same side.
Start by wrapping it around the bar from underneath.
Connect Straps:
Feed the rear strap back through the guide within the neoprene Velcro closure.
Push the button on the cam buckle and feed the strap through the opposite side to open it.
Pull the cam strap through, ensuring it is as tight as possible.
Tuck the loose strap into the neoprene and Velcro enclosure and seal it up.
Step 5: Repeat on the Other Side
Repeat the same steps for the straps on the other side of your vehicle.
Step 6: Ensure a Secure Fit
Positioning for Stability: Push the air carrier back as far as possible so that the front crossbar of your roof rack is right against the point where the front part of the air carrier strap is mounted. This helps prevent bouncing.
Check the Straps: Ensure the straps are completely wrapped around the crossbar and that there is no slack. If your air carrier lifts up at high speeds, it's likely due to the front not being wrapped tightly enough or the carrier being too far forward.
Final Tips
Secure the Load: Always check the straps and the positioning of the air carrier before starting your journey.
Periodic Checks: During long trips, periodically check the straps to ensure they remain tight and secure.
By following these steps, your FLATED air carrier will be securely attached to your vehicle, ready for any adventure. Safe travels, and enjoy your road trips with FLATED!
For more detailed instructions and tips, visit our website or contact our customer support team. Happy traveling!



Leave a comment (all fields required)