How to Use the FLATED Dual Stage Electric Pump: Inflate Your FLATED Products Quickly and Easily
Introduction
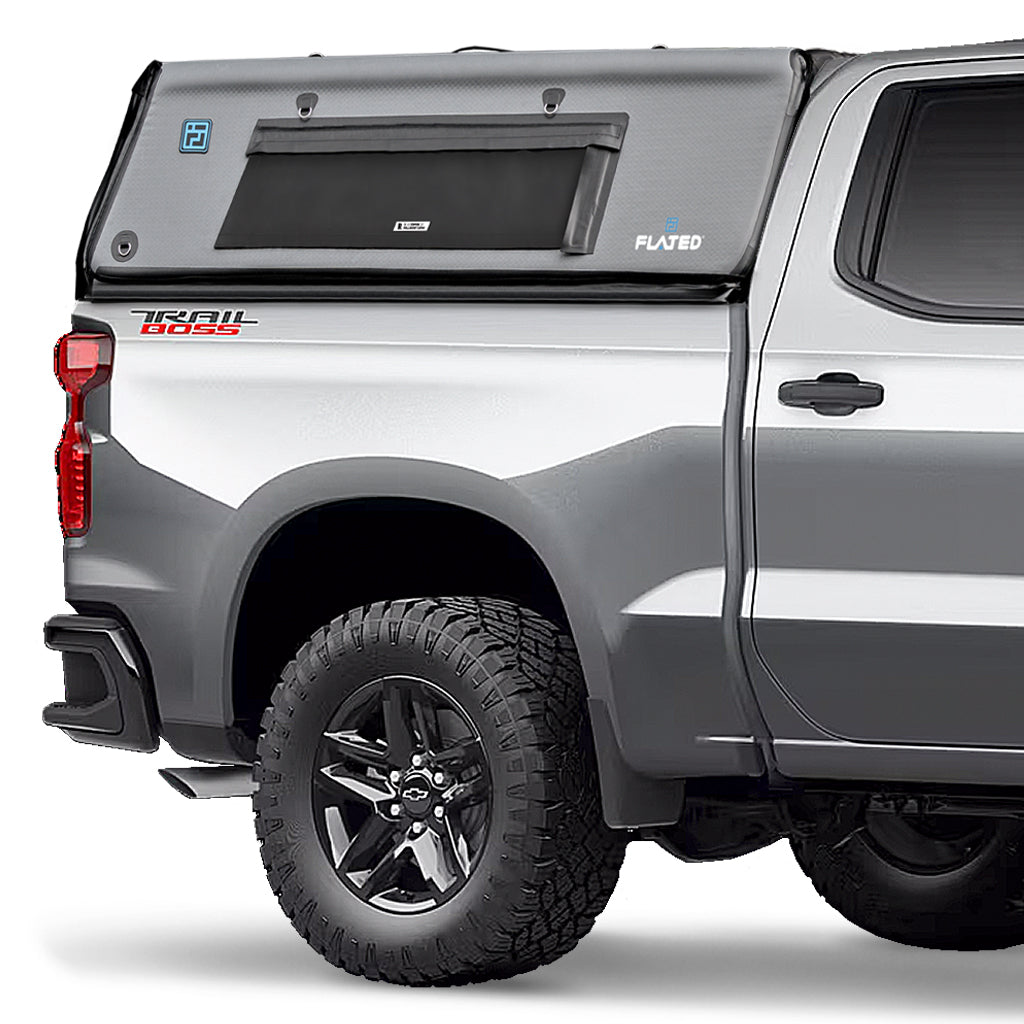
Hey friends, family, and fellow road trip enthusiasts! Ken Hovey here, one of the co-founders of FLATED. Today, I'm excited to walk you through using one of our most popular accessories: the FLATED Dual Stage Electric Pump. This powerful tool makes inflating your FLATED products a breeze, getting you on the road in no time. Let's dive into the unboxing, setup, and inflation process for your gear, starting with my son’s topper for his Toyota Tacoma.
Step 1: Unboxing Your FLATED Dual Stage Electric Pump
When your FLATED box arrives, it contains everything you need for your inflation system. Here's what you’ll find inside:
-
Air Hose
-
Spare fuses
-
Extra gasket
-
Dual Stage Electric Pump
The pump runs on 12V DC, so simply plug it into your cigarette lighter to power it up.
Adapter Setup
When you unbox the pump, you might notice the wrong adapter is attached. Here’s how to fix that:
-
Unscrew the Incorrect Adapter:
-
Remove the existing adapter from the hose.
-
Attach the Correct Adapter:
-
Screw in the appropriate adapter, typically used for your air topper. It has a different edge and is slightly longer than the standard adapter.
Step 2: Setting Up the Pump
-
Connect the Hose:
-
Attach the hose to the pump’s inflation port. Turn it clockwise until it’s hand-tight.
-
Power Up:
-
Plug the pump into your vehicle’s cigarette lighter. The LCD display will illuminate, showing the pump is powered on.
-
Select PSI Settings:
-
Cycle through the display options to set the unit to PSI. Our products are designed to inflate between 5 and 8 PSI. For today’s demonstration, set it to 7 PSI.
Step 3: Inflating Your FLATED Product
-
Prepare the Air Topper:
-
Unscrew the valve cap and ensure the valve is closed.
-
Attach the Hose:
-
Insert the hose into the valve and turn it clockwise while pressing down to secure it. This ensures an airtight fit.
-
Start Inflation:
-
Press the power button on the pump. Watch as the pump goes to work, inflating your topper. The dual-stage pump will initially blow air, then transition to a higher pressure mode, making a distinct sound change.
-
Note: The change in noise is normal, indicating the pump is compressing air and increasing pressure.
Step 4: Monitoring and Finishing Up
-
Watch the LCD Display:
-
The pump will automatically stop once it reaches the preset 7 PSI. It might run for a few more seconds to stabilize.
-
Disconnect the Hose:
-
Once the pump stops, gently push the hose in and turn it counterclockwise to remove it. Replace the valve cap to secure the inflation.
Conclusion
That’s it! You’ve successfully inflated your FLATED product with our Dual Stage Electric Pump. Remember, adjusting the hose adapter and understanding the pump’s sound changes are key to a smooth inflation process. Now you’re ready to hit the road and enjoy your summer adventures with FLATED.
How to Use the FLATED Air-Pump to Deflate and Store Your FLATED Product: A Step-by-Step Guide
Introduction
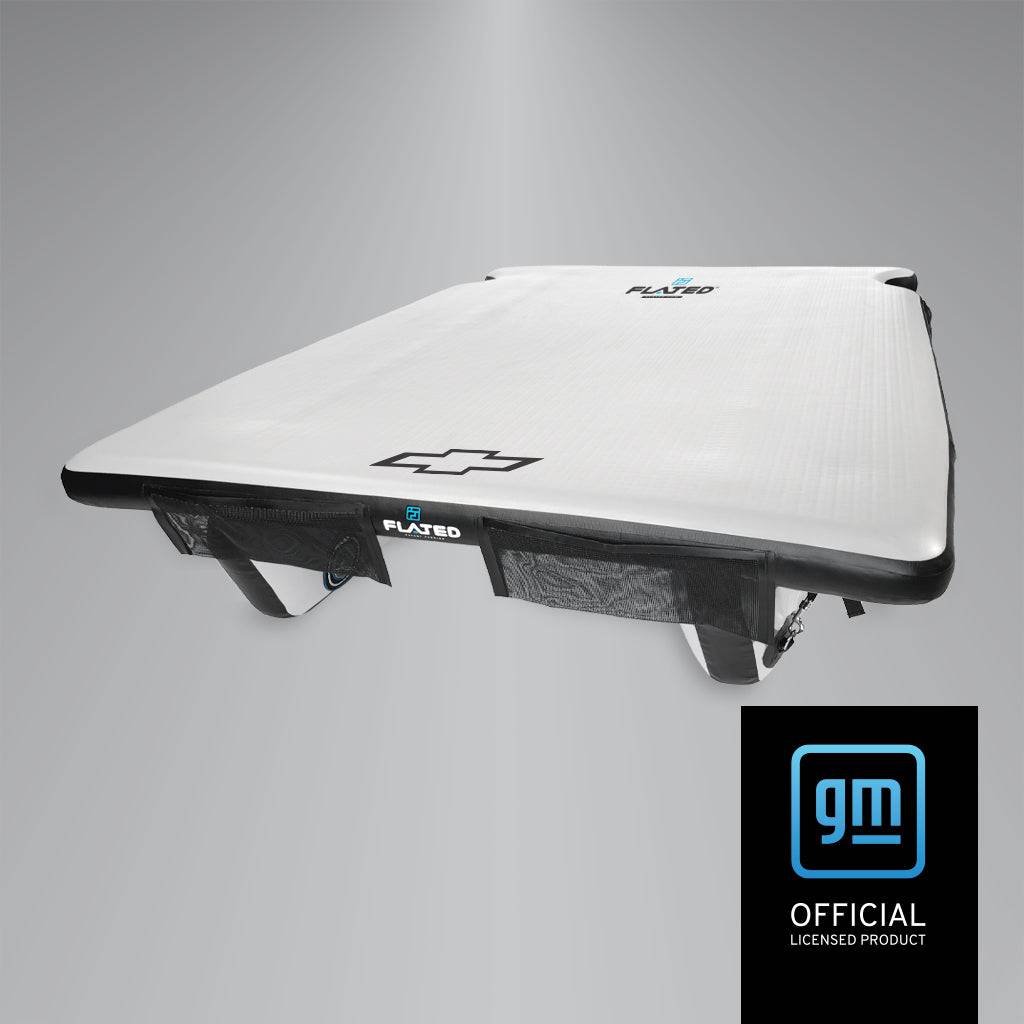
Welcome to the FLATED community! We're thrilled to see our inflatables being enjoyed worldwide. Inflating your FLATED product is easy, but proper deflation is just as important. In this guide, we'll walk you through the process of using the FLATED Air-Pump for quick and efficient deflation, storage, and maintenance of your air topper.
Step 1: Preparation
Before starting the deflation process, ensure your air topper is clean. Use a wet towel to wipe away any dirt, paying special attention to the windows and seams. This helps maintain the integrity of the material and prevents dirt from being trapped during storage.
-
Clean the Windows:
-
Wipe down all windows with a damp cloth.
-
Remove the windows by lifting the rain flaps and pulling out the windows carefully.
-
Apply UV Protectant:
-
Spray a UV protectant (such as 303) on the surface to keep the material malleable and protected from sun damage.
Step 2: Deflation
-
Open the Valves:
-
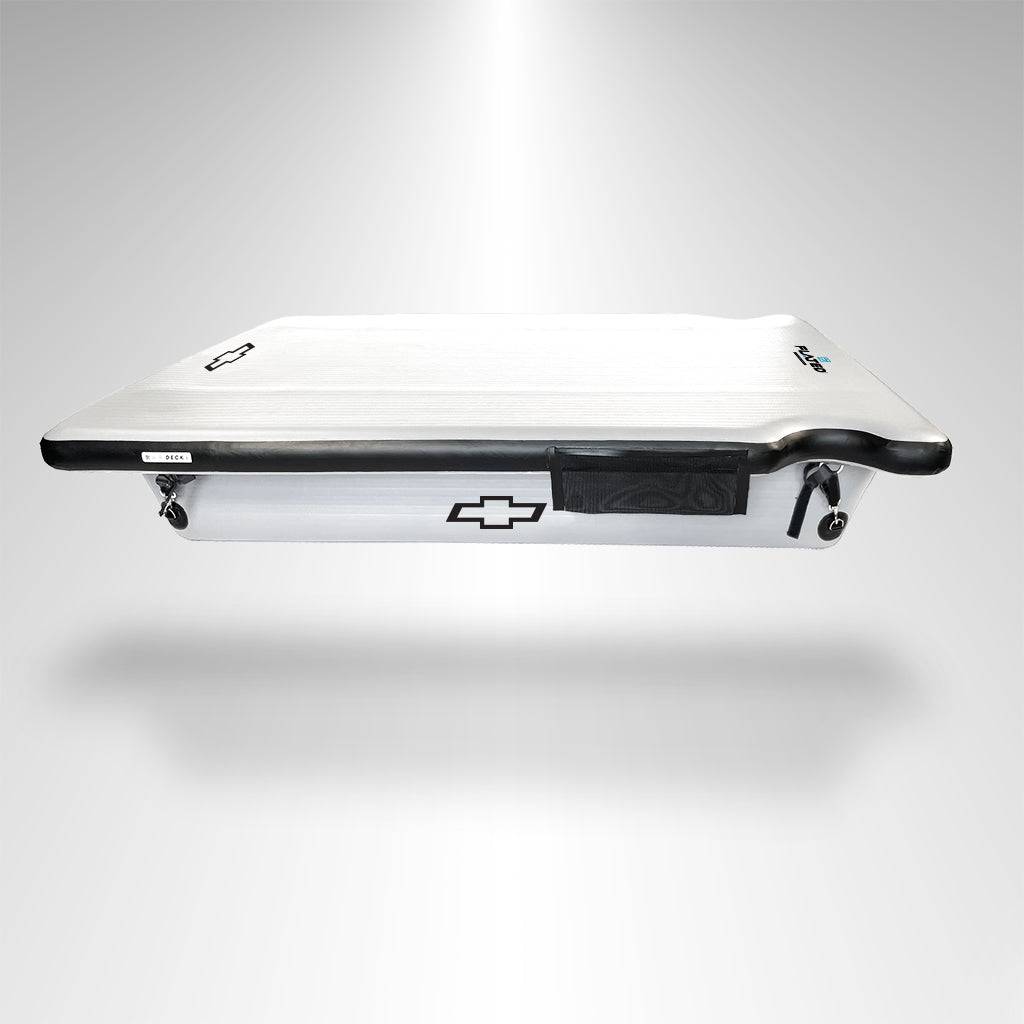
Locate the four valves on your air topper.
-
Open each valve by pushing in and turning counterclockwise. This allows the air to escape quickly.
-
Use the Air-Pump:
-
Attach the pump to the valve marked “deflate.”
-
Pump to pull out the remaining air, compressing the material efficiently.
-
Close the Valves:
-
After deflation, close each valve and replace the caps to prevent air from re-entering.
Step 3: Folding and Storing
-
Fold the Air Topper:
-
Fold the topper in half lengthwise.
-
Roll it up tightly from one end to the other.
-
Use the Carry Bag:
-
Place the rolled topper into its carry bag.
-
Adjust the straps to secure it tightly.
Conclusion
Deflating and storing your FLATED air topper is quick and easy with the right steps. By keeping it clean and protected, you ensure it stays in great condition for future use. Enjoy the convenience and portability of your FLATED products, and happy adventures!
By following these steps, you can ensure your FLATED air topper is properly deflated, protected, and stored, ready for your next adventure. For more tips and product information, visit our blog and stay connected with the FLATED community!