Welcome, fellow truck lovers! Today, we're walking you through the quick and easy process of inflating and installing your new FLATED Air Topper. With our latest improvements, you’ll find the installation even smoother. Here’s how to get your Air Topper perfectly set up.
Unboxing the FLATED Air Topper
When your FLATED Air Topper arrives, you’ll have everything you need to complete the installation. Inside the box, you’ll find:
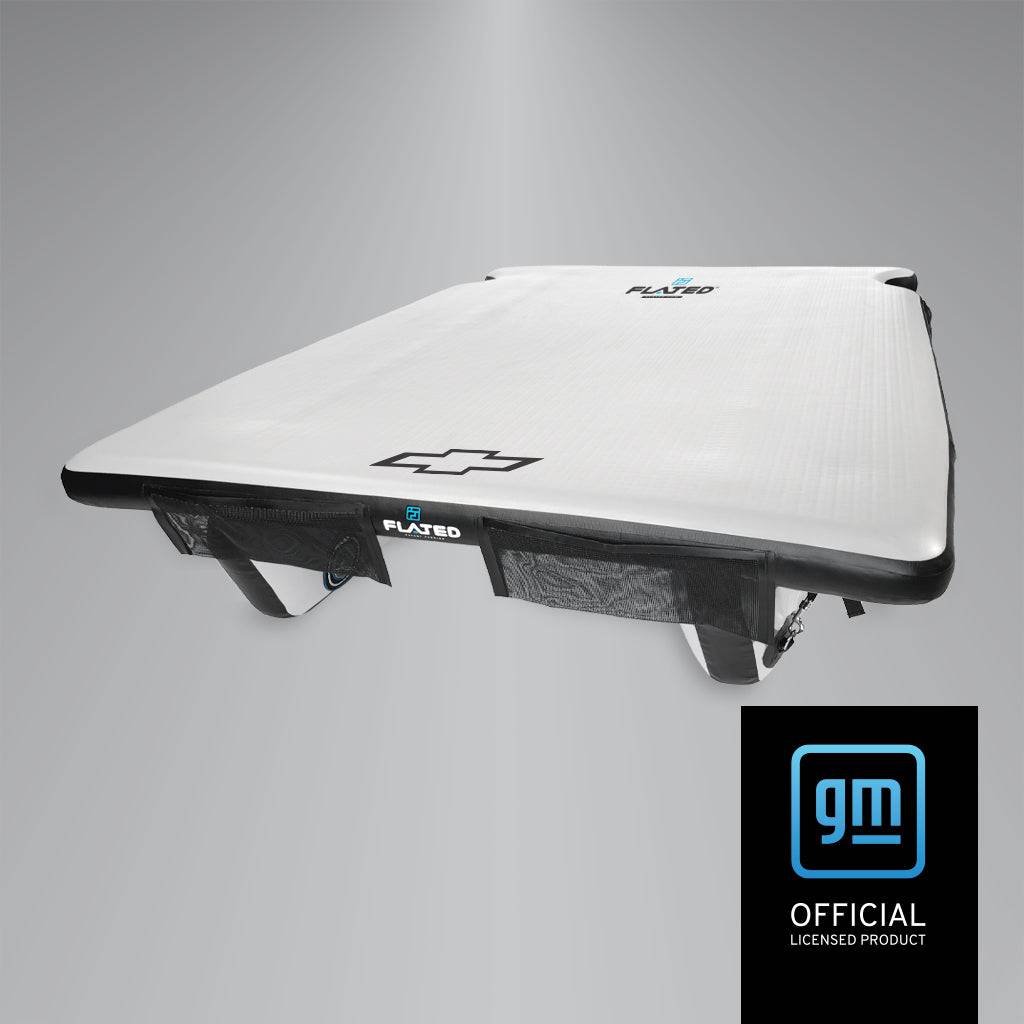
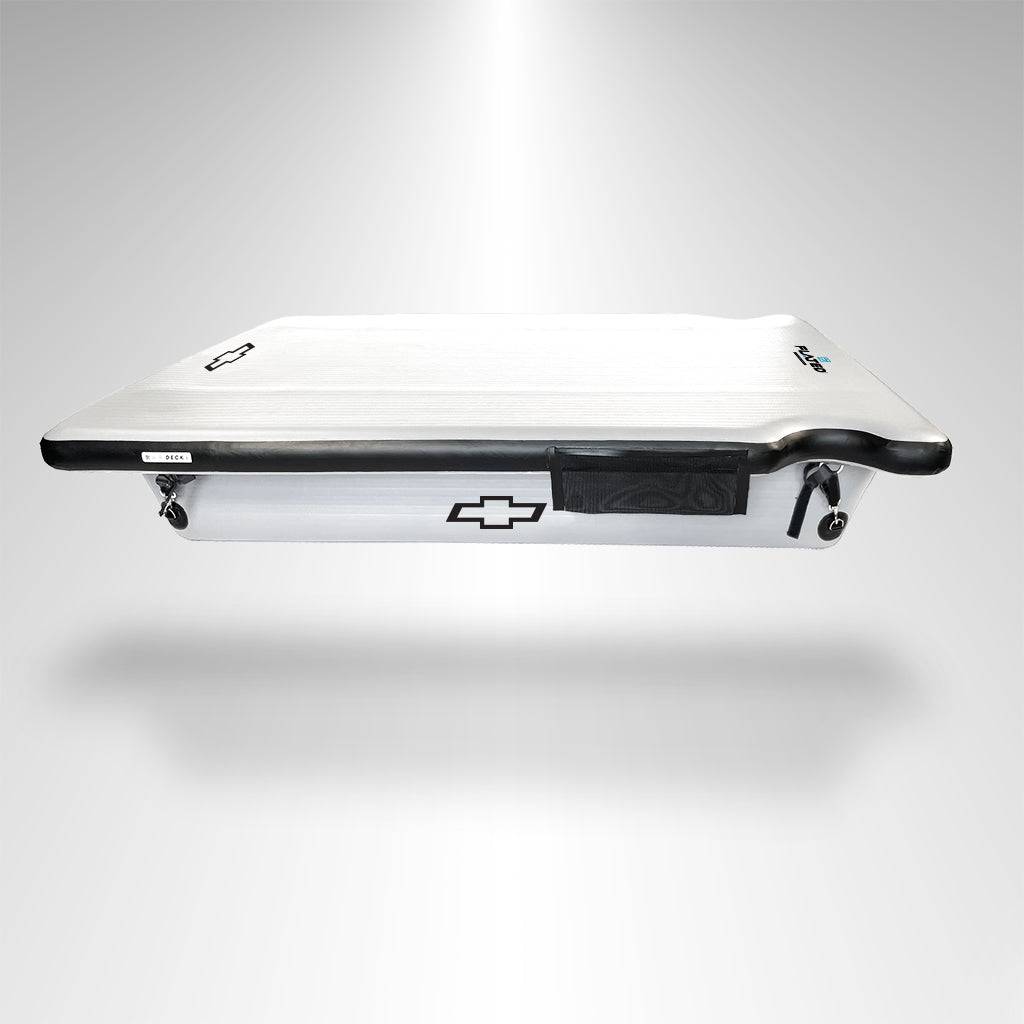
Air Topper
Windows and screens
Straps and J hooks
Storage and carry bag
Hand pump
Repair kit
Start by removing the Air Topper from the bag and discard any packing material. A clean and forgiving patch of grass is the perfect environment for this process.
Inflating the FLATED Air Topper
Before inflating, close all four valves. The valves are open when shipped to release all air. To close the valve, push the valve with your thumb and turn it counterclockwise until it pops up. This ensures each chamber is independent.
Inflate each chamber to between 5 and 8 PSI using the included hand pump or the optional electric pump for convenience. Start with 5 PSI and top off later if needed.
Letting the Windows Warm Up
For an easy window installation, unroll the windows and lay them in a warm, sunny area. This will make them more malleable, easing the installation process.
Securing the FLATED Air Topper to Your Truck Bed
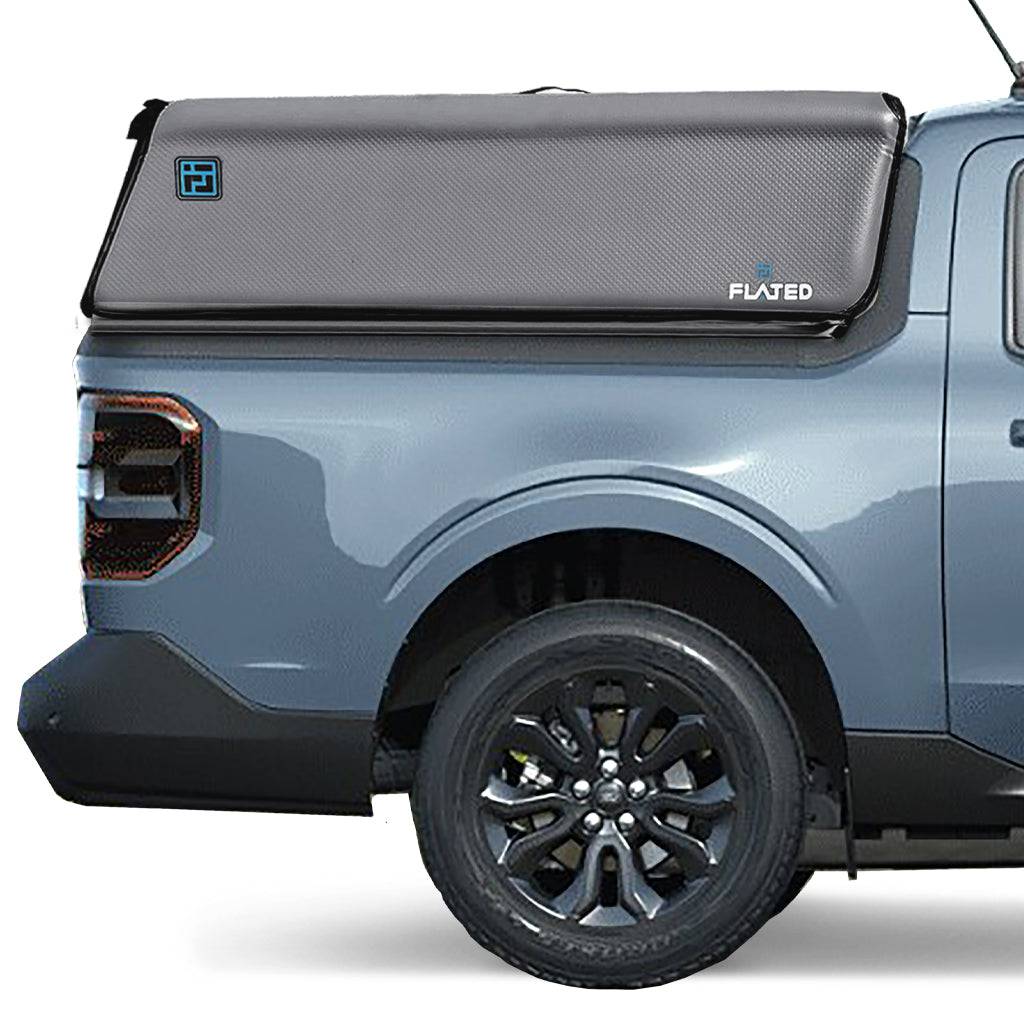
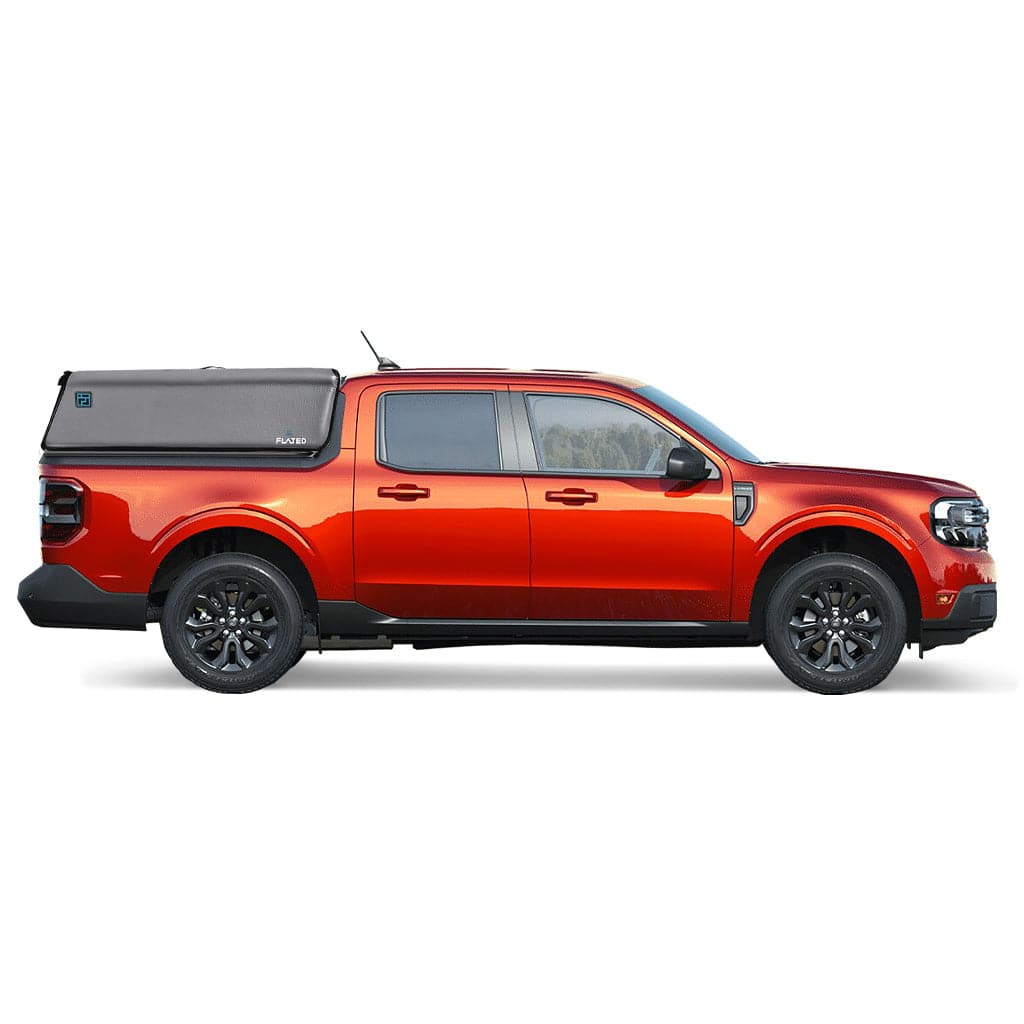
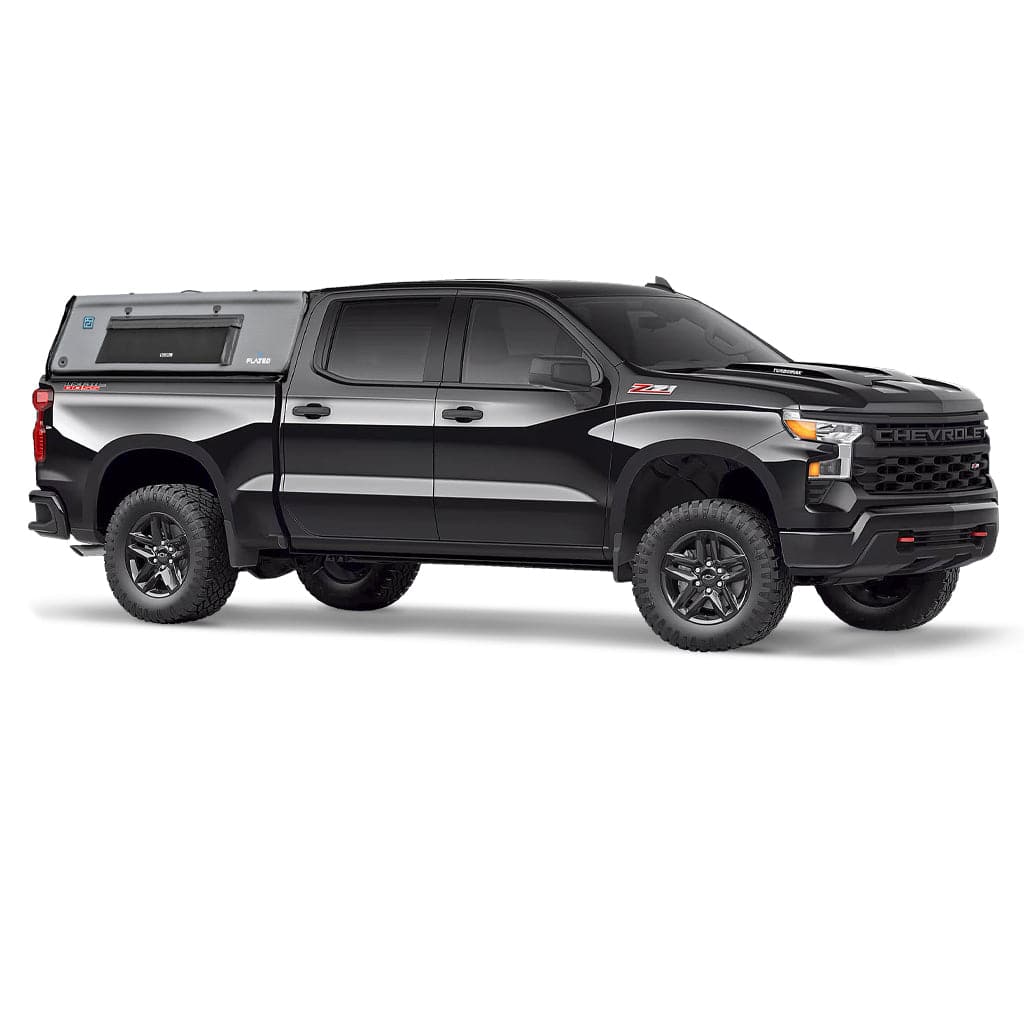
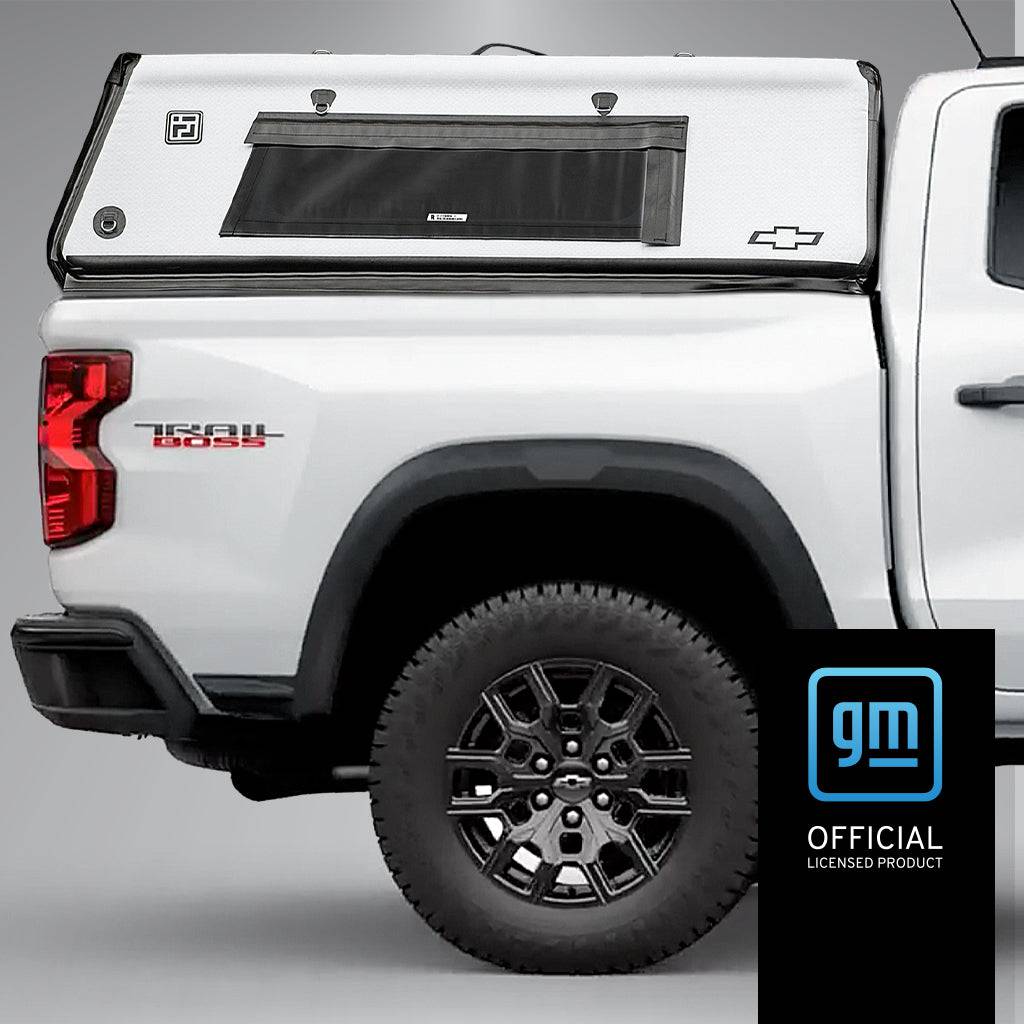
Position the Air Topper on your truck bed as you would a typical topper. While it’s possible to do this alone, assistance from a friend can be helpful. Secure the Air Topper with the included straps and J hooks. There are four cam straps for the corners and two cam straps with J hooks for the sides.
Run the strap through the corner D-rings and the steel security points in the bed of your truck. Hand-tighten the straps. For the J hooks, run the cam strap through the D-ring in the middle of each side window, through the J hook, and back to the cam buckle. Hook the J hook under your bed rail and pull tightly.
One improvement in the latest version is the widened EVA weatherstripping, which enhances the watertight fit along the leading edge corners.
Installing the Windows on the FLATED Air Topper
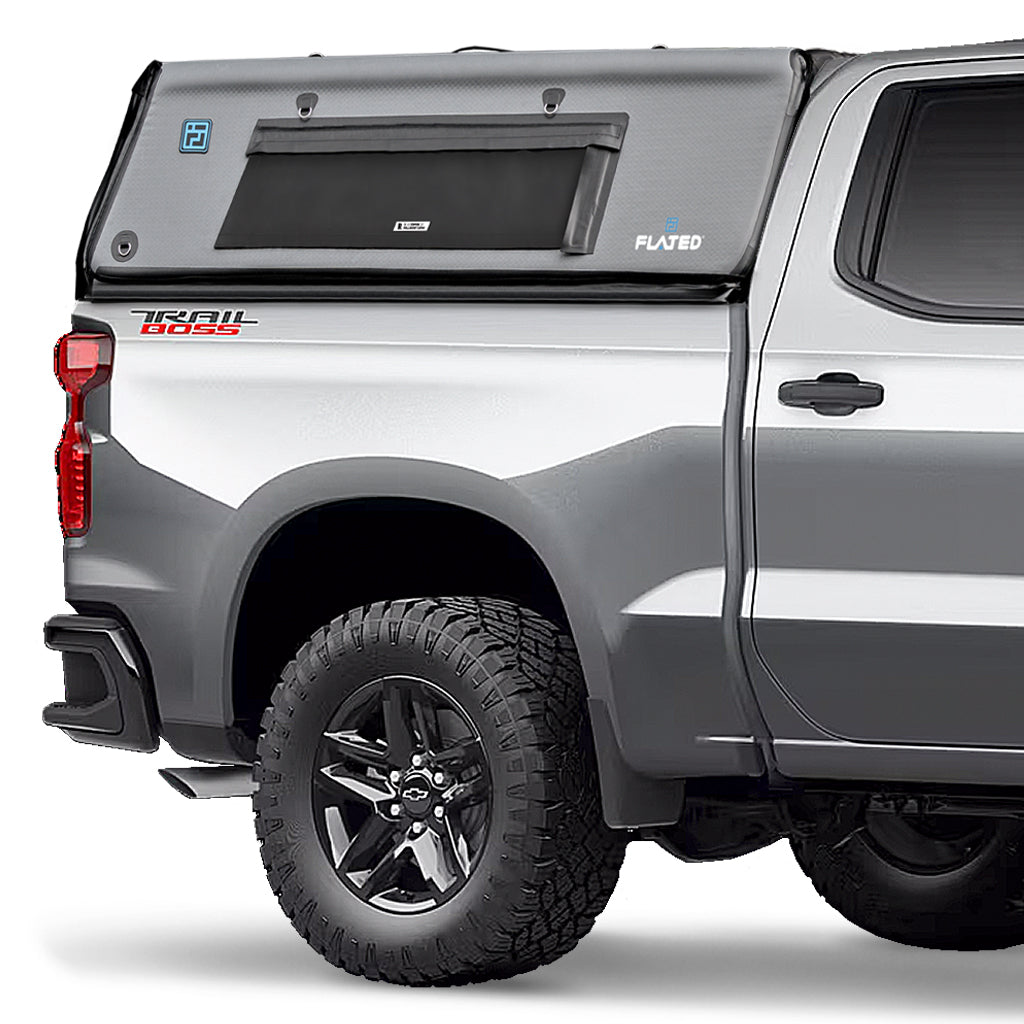
Each window is uniquely designed for a specific location. Open the Velcro enclosures and place the window into position. Push the rain flaps back down over the window for a secure, dry fit.
Securing the Back Window and Tailgate Strap
Install the back window by opening the Velcro tabs and placing the window between the flaps. Press down to seal. The new model features a hook and loop tape across the inside back window and a custom cam strap for the tailgate. Secure this strap around the tailgate, pull tightly, and close the tailgate to attach the hook and loop.
Final Checks
Ensure all cam straps and windows are secure and that all valves are closed. Your FLATED Air Topper is now installed and ready for use. If you have any questions or need further assistance, please contact us. We're here to help!
Enjoy your adventures with your new FLATED Air Topper!



Leave a comment (all fields required)